How To Pressure Wash Your Concrete or Brick Driveway
Why do you want to pressure wash your driveway?
- Because your neighbor just got a new one and it looks amazing in comparison?
- Because you want to increase your home’s curb appeal without spending $10,000?
- Because it annoys you that it’s worn and dirty each time you pull up in your car?
Whatever your reason for wanting to pressure wash your concrete or brick driveway, you’re in the right place, because here you will find out EXACTLY how to:
- Remove the mildew, grime, dirt and oil stains that over time damage it.
- Return it to its former aesthetic glory increasing your home’s curb appeal (and dollar value)
- Avoid paying $10,000 for the look and function of a brand new driveway.
Before jumping into a full blown DIY project, you should know there IS a proper way to pressure wash your concrete or brick driveway.
Watch the concrete or brick video below, depending on your driveway type. Below each video are step-by-step summaries of the methods to follow.
How To Correctly Power Wash a Driveway

7 Steps To Pressure Clean a Concrete Surface (Quick And Thorough)
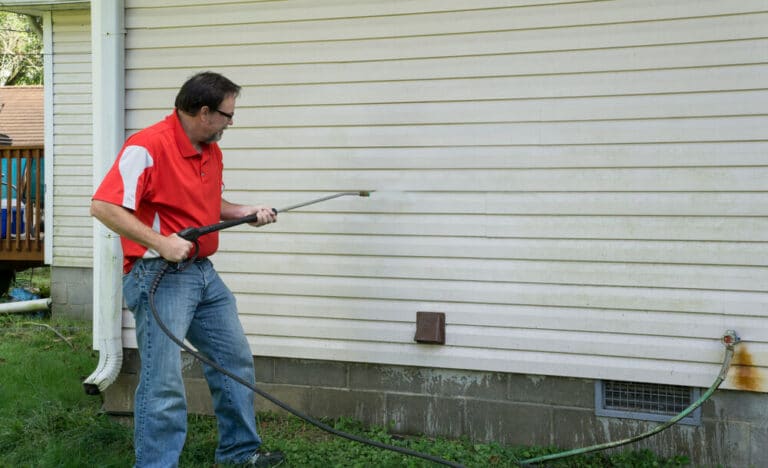
- It seems obvious but it needs to be said: Homeowners need to clear the area of kids toys, vehicles and other things that might get in the way of pressure washing.
- Get your cleaner ready by attaching the garden hose and the 25-degree nozzle. Now turn it on and give your driveway a once over to remove loose debris like pebbles, grass and any small tree leaves or branches.
- Now is the time to apply detergent. Be sure to read your machine manual to know which are the recommended driveway cleaners & degreasers to use with your particular washer. Also be sure to attach the low pressure soaping nozzle to your sprayer at this stage. The soaping nozzle is designed to soak the driveway as oppose to blasting it clean – that’s step 5.
- Now let the cleaning solution work its magic on the driveway for about 5 minutes before doing the proper pressure wash.
- Now that the detergent has broken down the driveway stains and tough grime, mildew and other dirt, it is ready to blast it all away. A pressure washer surface cleaner attachment is the recommended method. A surface cleaner attachment will complete the clean faster and better because it disperses the water over a larger area – not only reducing risk of concrete damage from high pressure but also pulsing the flow to more readily “tear” the dirt and grime from the surface. Depending on size and material (plastic or stainless steel) a surface cleaner can cost between $20 and $2000.
- A rotary nozzle does a similar thing to the water flow as a surface cleaner. It pulses/rotates the flow of water to greater push and peel the dirt and grime from the surface. Use one to remove the very stubborn stains and dirty areas.
- The driveway should now be clean. It is ready for the final rinse to flush away the detergent. Attach the 25-degree nozzle to your spray wand and give it a thorough rinse.
A Few Things To Take Note Of:
- Environmental Pollution – Be mindful of where all the runoff water you are using to clean your driveway is going. Most likely you do not live in an area with a sani-sewer. It is more likely the water that enters the storm drain goes to your local stream. Would you like to pollute that stream with the chemicals and oil you are washing away from your driveway? You could push all the wash water to your lawn so it absorbs there. You could block off the storm drain then let the water all evaporate then sweep up the solids (or vacuum it up).
- Safety – As always, with high pressure water comes risks. Using a surface cleaner reduces risk because it contains the jet stream within the unit. Be sure to wear safety goggles and be aware of your surroundings. Don’t back up into the road while concentrating on the edge of your driveway as cars might be coming down the road. Here are 7 pressure washer safety tips to follow.
- User Manual – Always read your pressure washer manual to know how to properly use it. And especially to know what chemicals are safe to use in the detergent tank.
How To Pressure Wash Your Brick Driveway

3 Steps To Pressure Clean a Brick Driveway
- Soak the brick driveway down with water. Do this with your most delicate spray nozzle. The point of this is to get the entire brick surface wet so it doesn’t absorb the detergent.
- Now apply the proper detergent with the proper nozzle ensuring you get the entire surface covered. Let it to its work for 5 minutes ensure you keep the surface wet the entire time.
- Now attach the 25-degree rinsing nozzle to remove all the dirt, grime, mildew and detergent. The key is more detergent and less pressure with brick. You don’t want to destroy the mortar (which is strong but the weak point in a brick driveway).
Let’s See How Good Your Driveway Will Look After You Spend an Hour Pressure Washing This Weekend
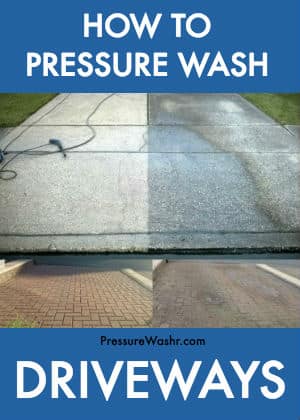
Which half of this long driveway looks better? Looks less slippery on the left too.
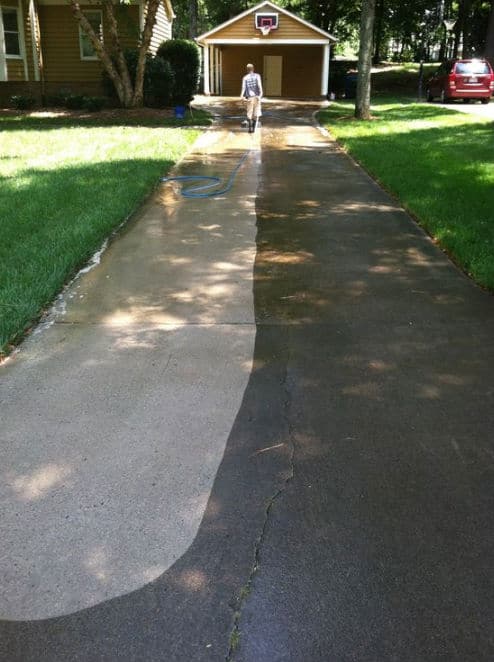
Make your driveway look new again, adding curb appeal to your house and making your neighbours jealous.
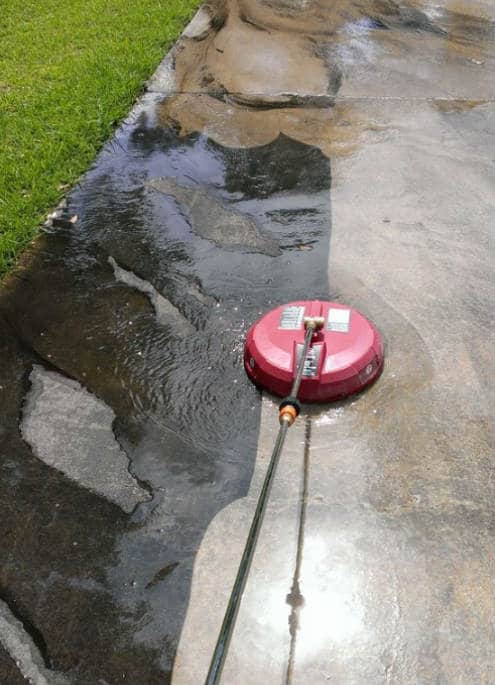
This shows the power of a surface cleaner attachment. It has two nozzles rotating fast within the enclosure cleaning 12 to 18-inch wide strip of concrete at a time.
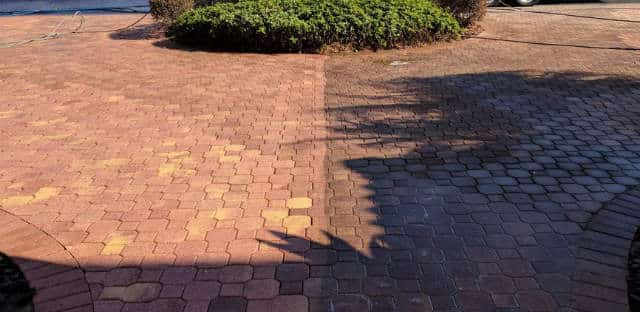
How great your brick driveway can look again. Just amazing, don’t you think?

These brick pavers clean up nice.
Sources
- Perils of Power Washing – This article explains how pressure washing can damage a concrete driveway.
- Strength of mortar used in brick driveways explains the different types of mortar used in different applications. It was found that mortar in a brick driveway has about 2500 PSI compressive strength. This means the it is possible to break up the mortar with a direct balst from a 2500 PSI pressure washer held less than an inch above it. However, with ever doubling of distance from the surface you cut the effective pressure in half.
- Pics of before after driveways sourced from reddit.com users: WolfyCat and Kaffein.